My Basket
Sample
Loading...
A step-by-step guide to painting an interior wall, perfect for beginners and a useful reminder for everyone else.
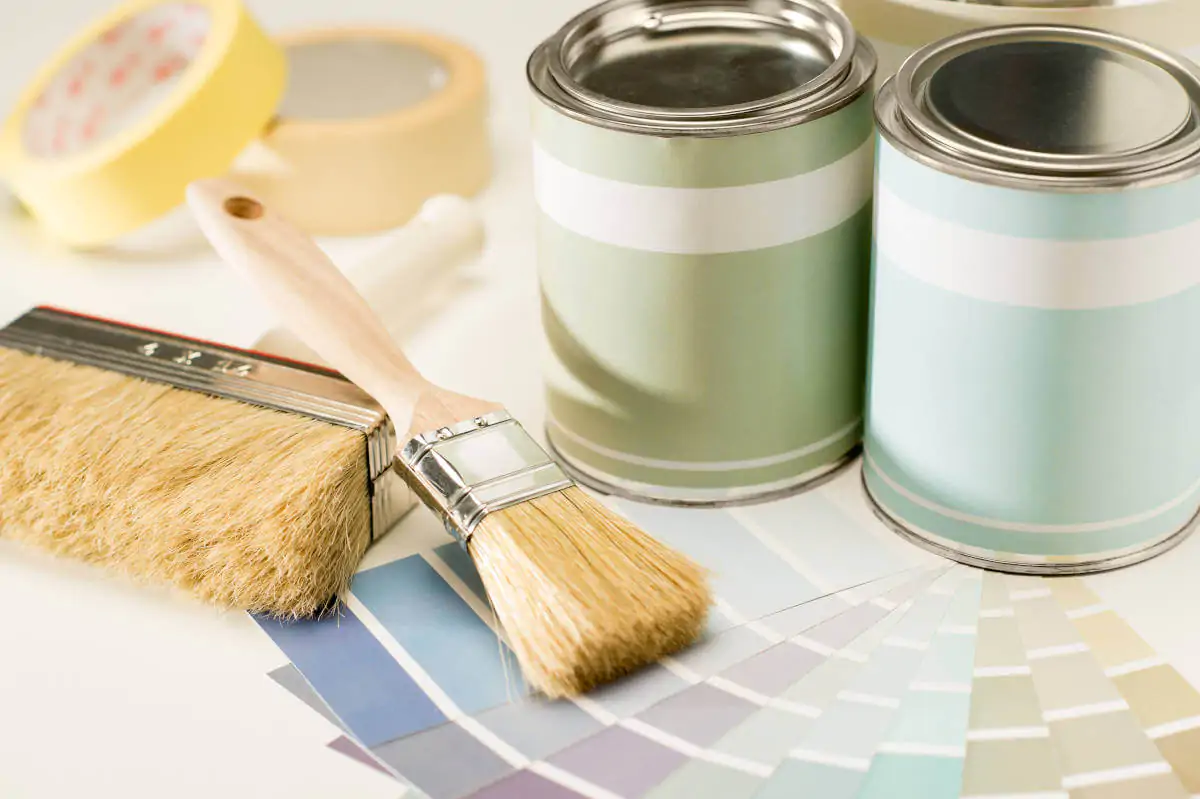
Before you start you will need the following equipment:
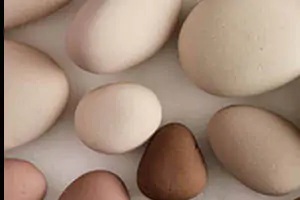
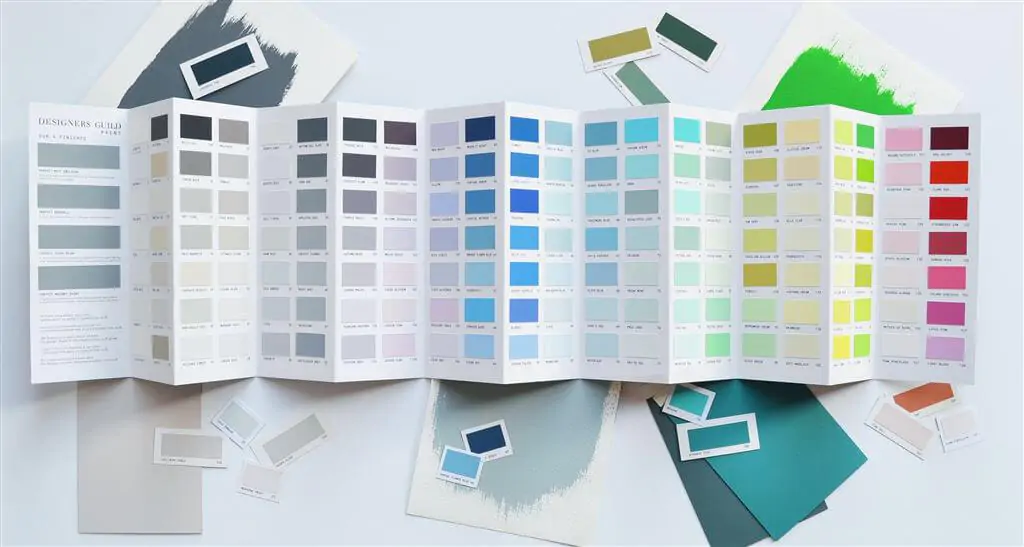
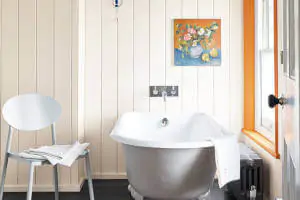
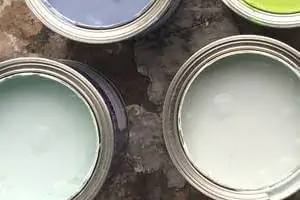
There are four elements to consider in choosing the perfect paint, quality, type of paint, paint finish and colour.
Before you start painting the wall you should make any minor repairs filling any holes or cracks in the wall. Before you start filling in any holes and cracks you will want to protect your furniture, flooring and any other objects in the room. It is a good idea to move furniture to another room, roll back carpets and ensure there is nothing in the room which can be damaged by paint. Whatever you cannot remove from the room should be covered in dust-sheets and plastic sheeting. For smaller holes, such as where nails and picture hooks have been removed, and for small cracks, a simple filler will be suitable. Larger holes may need patching up with plaster, achieving a smooth finish with plaster requires a high degree of skill, so for anything other than minor repairs you may want to consider hiring a professional. Once you have fixed the wall you will have to wait the recommended time for the plaster or filler to dry.
When you are ready to paint the room you should prepare the room for painting, such as putting down dust sheets and masking any woodwork, switches and socket plates. Don't forget to remove any lamp shades, cover or remove furniture, cover the carpet or flooring, this is really important if you are using a roller because the paint is likely to splatter more than if you use a paint pad or brush. For a really neat finish you can partially unscrew any socket or light fittings, but only do this if you are confident you know what you are doing (you may want to turn the power off first, test that there are no live wires, and that the socket or switch is not live). As an alternative to unscrewing fittings you can mask the edges and cut in the paint around it.
To prepare a wall you should sand and clean it. If the wall is dirty or greasy you should clean the wall first with soap and water or a light sugar scrub, this is because paint will not be able to adhere to a greasy surface or may peel off later. Once the wall has dried you can then proceed to sand the wall, this should be done with a fine abrasive paper, and after sanding you should wipe away any dust with a lightly damp cloth. The wall is then ready for painting.
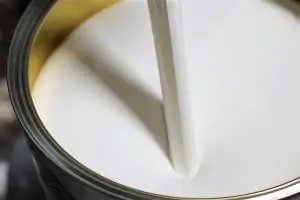
Open the paint, make sure you stir it well so any pigment which has settled to the bottom is mixed back in. If you do not mix the paint then you may find the colour at the bottom of the tin is different to the colour at the top and it will likely be thicker. Use your small brush to paint all the edges of the wall, around the sockets, in the corners, around light switches, doors and windows. This is known as cutting-in.
After you have cut in the walls you are ready to paint the larger spaces with your tool of choice, pick from a larger brush, paint pad or roller. Brushes work well if the surface is uneven, such as in an older property or one where you are painting over artex or textured wallpaper, rollers are great for speed but can be messier, paint pads are good for speed with less mess, but the tool you choose will also be a question of personal preference. When you have chosen it is time to paint the wall, aim for a nice even coat but don't worry about trying to achieve a perfect finish, that should happen with the second or final paint coat.
After you have applied the first coat it is important to let the paint dry properly before attempting to apply a second coat. If you rush this stage and apply a second coat before the first coat is dry it may peel off the paint leaving lumps and gaps in the paint. So follow the manufacturer's guidelines and use it as an excuse to take a break from painting or to move to another part of the project. Don't forget to clean your brushes to prevent them drying out.
When the wall is ready for the next coat of paint you should very gently sand the first coat. This is called de-nibbing, and it is just a very light scuff to help the next coat bind to the surface, and to sand down any drips or spills. You should be able to brush any dust off with a dry cloth ready for the next coat of paint to be applied.
To apply another coat of paint you simply repeat 5 and 6 above, start by cutting-in the paint and then paint the larger patches. If you are happy with the finish you have finished the painting stage if not, or if the manufacturer recommends more than two coats of paint simply repeat steps 7, 8 and 9 as necessary. This is where you may be thankful you purchased a quality paint.
When the paint is dry, but on the same day as painting, remove the masking tape. This can be a little tricky, if the paint is wet or there are pools of paint, taking the tape off may leave some paint on the masked surface (so be ready to wipe it off with a damp cloth), if you leave it too long the masking tape will become stickier and harder to remove and may also take off some of the paint it was stuck to. Congratulations, you have painted your wall so take a step back and admire your work.
If you prefer a video reminder of the steps for painting a wall take a look at Little Greene's 10 Steps to Painting a Wall below.
Call our customer support team on +44(0)1733230499 or email us.

Guide to Room Orientaiton
A guide to painting for room orientation.
Oil v Acrylic Gloss Paint
A guide to oil & acrylic gloss paints.